Visual Studio Code设置自定义背景图片
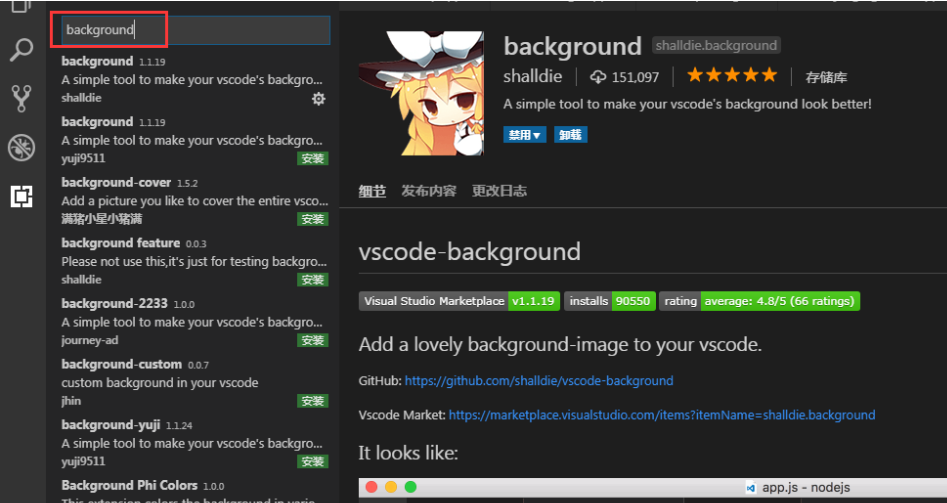
1、在VS Code扩展中搜索 background ,就能找到如图这个插件点击下载

2、之后打开文件 ->首选项 ->设置

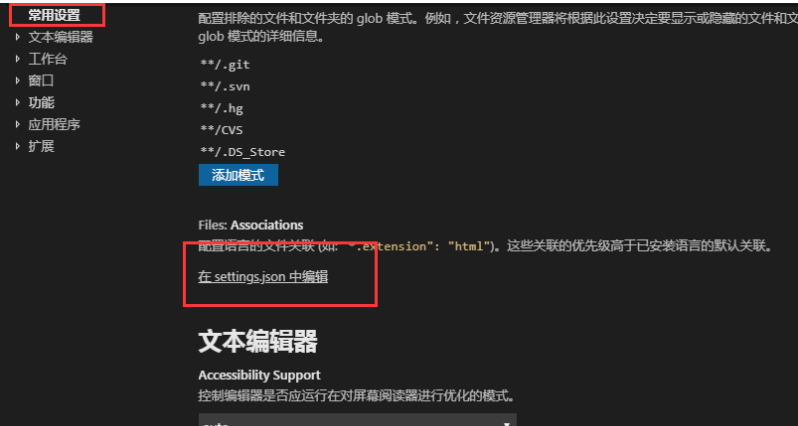
3、在设置中找到常用设置,找到如下图的框选的settings.json/也可以设置搜索中搜索 Associations/

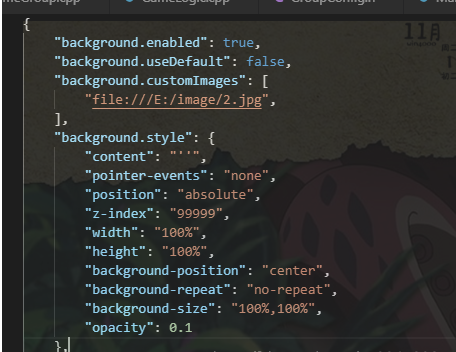
4、在settings.json输入如下

代码如下:注意路径
{
"background.enabled": true,
"background.useDefault": false,
"background.customImages": [
"file:///E:/image/2.jpg", ],
"background.style": {
"content": "''",
"pointer-events": "none",
"position": "absolute",
"z-index": "99999",
"width": "100%",
"height": "100%",
"background-position": "center",
"background-repeat": "no-repeat",
"background-size": "100%,100%",
"opacity": 0.1
},}
5、重启以后,背景图就是你自己改的那张啦。
注:程序中代码解析如下
"background.enabled": true,是插件是否启用,当我们把插件下载下来并且重启VS code之后,就已经有了这句话
"background.useDefault": false,是否使用默认图片,false是不使用默认图
"background.customImages",这是一个数组,也就是说可以设置多张不同的图片!记住,最多三张! "E:/image/2.jpg" 是图片的路径地址,想显示3张图,要分栏才会显


